Learn with Recreus
Depending on the geometry and surface of the part we are going to print, we may want to reinforce and further improve the adhesion of the first layer and avoid the dreaded 'warping'. All that, despite using the 'primer' or adhesive that accompanies our PP-3D polypropylene filament.
If so, here are some simple tips that you can put into practice when printing with our PP·3D filament. Don't miss them!
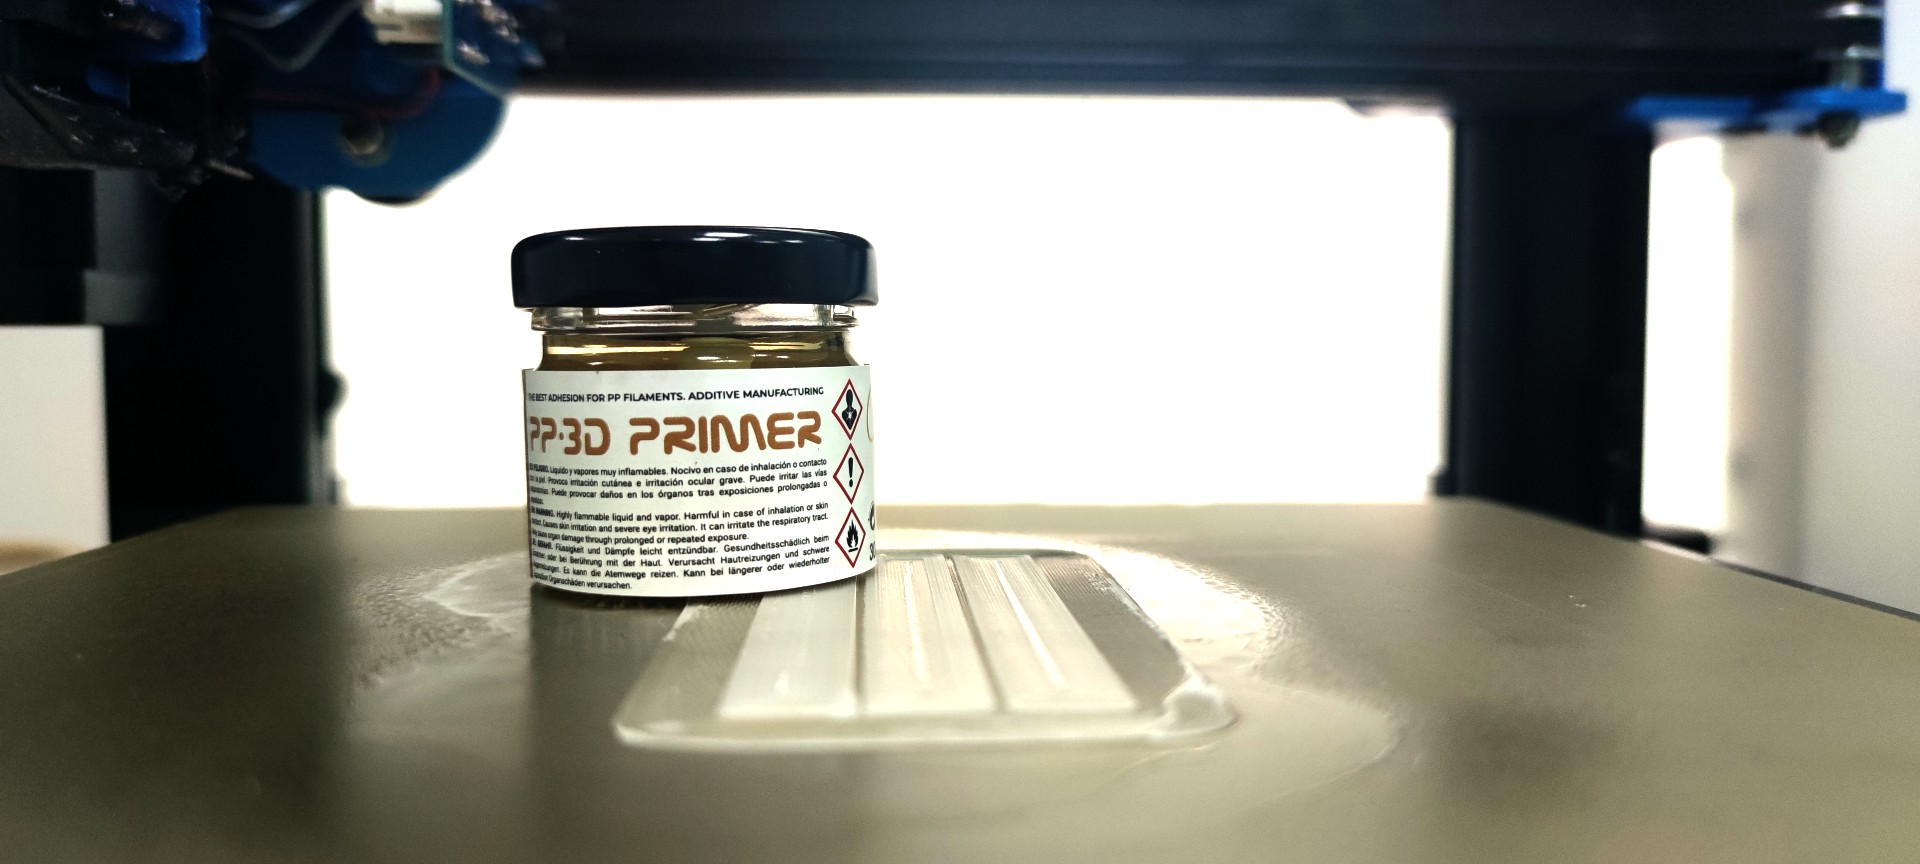
Sometimes, in spite of using the 'primer' or adhesive when printing with our PP·3D polypropylene filament, depending on the dimensions and surface of the part, it may be interesting to reinforce and improve the adhesion of the first layer to avoid 'warping'.
What is warping?
Let's remember that 'warping' is the shrinkage that occurs at the corners of the part when printing, causing them to lift and not remain firm on the print bed.
This shrinkage is caused by the temperature changes that the part undergoes, especially those with a larger surface area. Let's take into account the 230ºC of temperature coming out of the extruder depositing the filament, coming into contact with the 40ºC of the bed. All this without forgetting the cooling that occurs in the piece at room temperature. Many changes that cause the shrinkage of the material that starts from the center of the piece affecting the lifting of its corners.
To avoid this, we tell you 3 simple settings that you can make in your printer and with which you will improve the adhesion of the PP·3D filament to the printing bed. Apart, of course, from using the 'primer' that is already included in the pack with your filament:
3 simple settings to improve your adhesion when printing with PP·3D
Using the 'brim' support technique
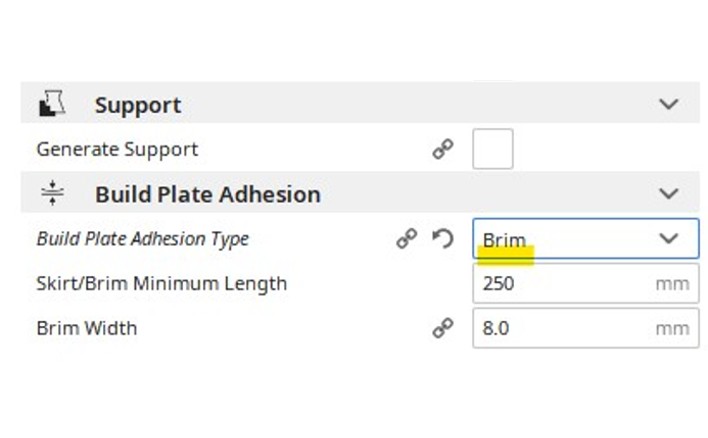
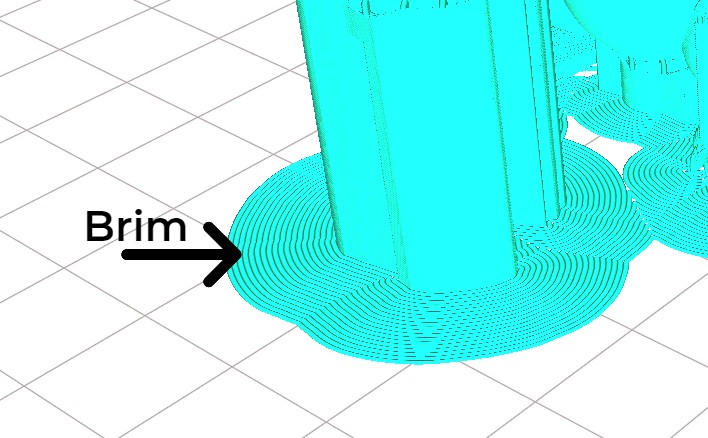
- By increasing the number of lines we obtain a larger surface of adhesion to the bed. Configure an adhesion platform or Brim in your laminator. In programs like Cura you can set the parameter 'Build Plate Adhesion' and select the 'Brim' option. This will create a first layer around the figure to improve the adhesion of the print.
Adding a different setting to the initial print layer
Another setting with which you will achieve great results is to parameterize the first layer differently. You should apply the following settings:
- Decrease the height to 0.15 mm.
- Increase the temperature by 10ºC.
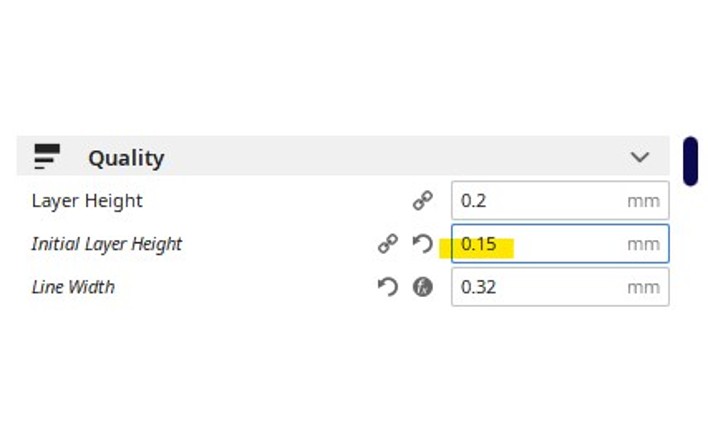
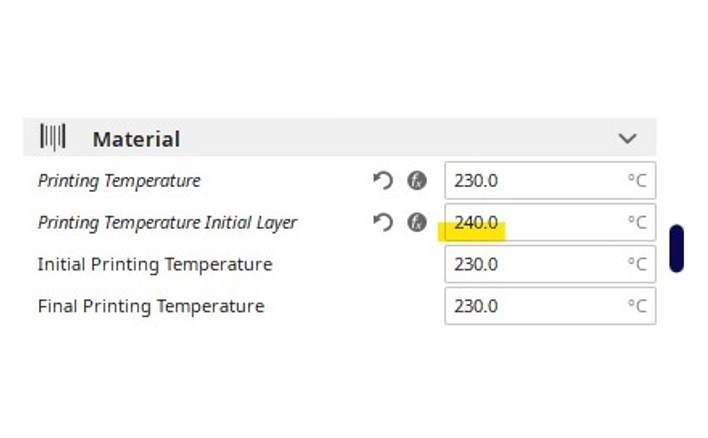
Setting a parameter in the Cura slicer to help improve adhesion
- Parameter 'Initial Layer Line Width'. With this parameter we can increase or decrease the % of extrusion flow to make the lines of the first layer wider or thinner. In this case, we will increase it by 10% to make them thicker and to fix the layer more.

By applying these simple settings, you will notice an improvement in the adhesion of your part.

 fr
fr  es
es en
en de
de it
it